In a previous post I gave the back story of our initial findings on the front
porch beam. Long story short, there is no massive structural beam hiding under there. Instead the weight of the roof is actually held by the porch roof joists themselves. The internal framing that spans the front fascia is a truss system. I'm sure it lends additional support, but probably not much. Thus the slight sagging was probably due to settling rather than actual structural problems like say, a cracked joist or beam. So we were safe to fix the look cosmetically instead.
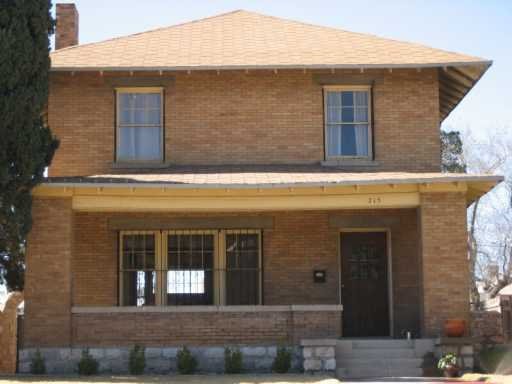
In the above pic you'll notice the gap on the right side is slightly more open than the other. The reason is the roof is actually one course of brick higher on that side. Honestly it kind of bugs me now that I know it's there, but we'll just call it character. The house was built this way and it's been fine for 100 years. If it was rotting and falling apart I would have took it all down and rebuilt it level. However since all the wood is solid and in great shape this was not necessary.
Instead a level was strung end to end to get the lowest point and rebuild the fascia to accommodate the slightly lower beam line. New and old wood was then cut to size to fill in the remaining voids. When the horizontal molding is added back in, the fix should be mostly imperceptible. Hopefully.

Here's a sneak peek at our new paint scheme..

 Once upon a time I tried finding a replacement for the kitchen heat register. I knew I needed a register for a 10x12 opening, The original replacement I got off ebay went towards the project house when I realized the dimensions were for the outside frame and would never work. So I was stuck with the ugly air return vent pictured above. To tame the amount of airflow I resorted to partially taping the vent. It was a temporary solution until I got off my keester and got a true replacement. Upon my wife's insistence, I finally got a replacement solution off ebay. This one had the correct dimensions so I proceeded to clean up the old duct and spray paint it with some high heat gray paint.
 After some tedious cleaning and painting of the new heat register, we installed it and it looks like it's always been there. I'm thinking about continuing the momentum and painting the kitchen too -- it's down the priority list but I think it'll make this room feel so much nicer.