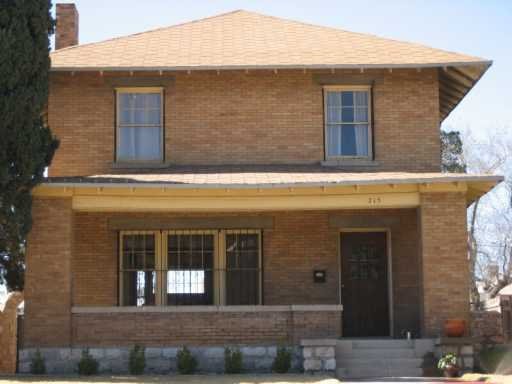
One of the original reasons for fixing up the windows in this room is so I could finally put up some worthy curtain rods. As you can see in the pic above, come afternoon sun this room can really heat up. In summertime it becomes a blazing inferno. Thus the need to diffuse the light coming into the dining room. You can't see it here, but we actually put up a faux stained glass sheet over the big middle window. This helped bring down temperatures in this room big time. But there was always a need to put up some curtains over these windows both from a heat control standpoint and for privacy. Since these are in the back of the house, I guess heat control won out.. It's been five years that we've lived in this house and we still don't have curtains up downstairs -- these will be the first. I still have the other set of windows in the dining room to overhaul before dressing them up. Then we can finally go for the ones in the living room.
Ok enough with the backstory. I've had my eye on this set of curtain rods since we bought the place. We actually have a pair of the same style in the upstairs bedrooms with a nice oil rubbed bronze finish. I always wanted brass for the formal rooms though. As you can see they are a nice and shiny brass, which I'm not really a fan of. However these are unlacquered so over time will patina to a nice aged brass and match the rest of the brass hardware downstairs. They are nice and beefy though and are pretty heavy. Hopefully a future owner doesn't think they need to toss them as they were somewhat pricey. In fact, my wife has taken to calling them the $XXX curtain rods. I won't divulge how much they cost, but they weren't cheap. Let's leave it at that.
Something else that left a bad taste in my mouth is rejuvenation kept getting my order wrong. I ordered these way back in july and only now do I have the complete set I ordered. I know, I know.. The first time I got one mismatched set of finials. The second time I got my brass finials except they were lacquered. Third time's the charm I guess, as I now finally have all hardware in unlacquered brass. I wasn't too happy about that, but dammit I wanted these rods. It's taken forever, but I am finally content with my dining room windows. Helps give me a little motivation that I can actually finish a project and am not completely crazy refinishing all this wood..