It's got to look worse before it gets better.
I like to tell myself that as I begin the landscaping punishment all over again. Honestly I hate tearing up my yard for months at a time. It drains you and you start to worry if it'll ever be finished. Shoulda left well enough alone and all that.. Unfortunately the truth was I couldn't leave it as it was, no matter how much I couldn't stomach what I knew I needed to do.
Way back when we bought the place (pre-blog), we had a cheapie landscape backyard fixup. Nothing special -- a small plot of grass and a bunch of rock screening (which I still despise). It was an improvement though. Prior to that it was a lot of dirt and weeds. Anyway over time my dogs slowly punched many a hole in the plastic sheeting underneath the screening. Eventually dirt got mixed in with the rock and weeds starting popping up with no mercy. Until I finally decided to get this last corner of my yard under control, there were entire sections of that plastic missing. It was a major timesuck having to maintain this part of the yard. Xeriscapes shouldn't need constant maintenance and come monsoon season I always ended up with a weed forest. Nothing a hoe or well placed yank couldn't take care of, but I wanted something care free.
My landscaping master plan basically created a few raised beds in this corner with a gravel pathway meandering through. I hit a few bumps along the way but I think it still came out pretty close to what I envisioned. From the picture above you'll notice there are already a few plants in the ground. These went in last fall to give them some time to get established. I'll go over exactly what plants I'm using in a future post. That little palm tree you see poking out the top corner had to go, being that it was non-native and all. Actually the thing sprouted like a weed a few years ago. It was already starting to get kind of big by the time I pulled it out. We had a big freeze over the winter where a huge number of these palm trees died across the city. Night temperatures hovered around zero degrees for a few days. Not too big a deal for the natives but was catastrophic for the tropical plants people love to plant here (including my lime tree, sniff).
So anyway, the project first involved lots of moving rock screening until I hit the plastic layer. The area with the beds had the plastic removed. Leveled out the dirt layer then started using my excess dirt (which I have plenty of) for the raised beds. I did this a section at a time until I could carve out each bed. From this overhead view it doesn't look like much yet, but trust me this is going to look purty. :)


 This picture overlooks the dining room.
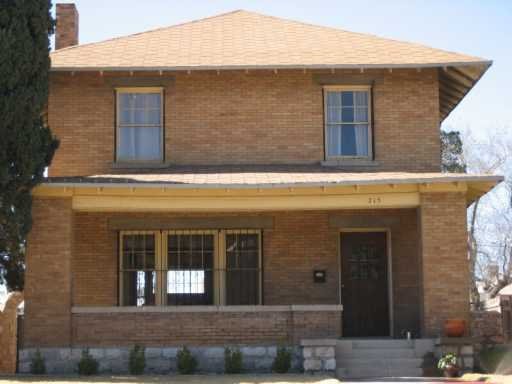
 Check out the pyramid style caps at the top of the door and window casing. Fancier than my house..
 Slow progress in my desert garden. The second planting bed has been carved out and filled with excess dirt. Plastic edging has been added and landscaping fabric installed. I'm slowly filtering rock screening and adding it back to the tops of these beds. Native plantings are gradually filling in the space. I don't have too much longer to get these in the ground before summer heat sets in, so I'll most likely hang back with the plantings until fall.
 Piles of dirt haunt me in my dreams and they haunt me when I'm awake. As much as I try to get rid of some piles, I make new piles in the process. I'm getting pretty sick of it to be honest with you. Hopefully these piles will be the last ones I have to deal with here at the ol' McBroom house.
 It's got to look worse before it gets better.