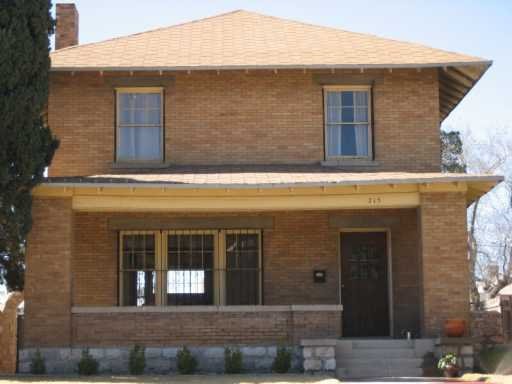
This is something I've had on my mind ever since we bought this place. When am I going to start refinishing the copious amount of woodwork in the formal rooms? Obviously I've taken my time. Let's see we bought this place close to five years ago and it always nagged at me. "You better get started refinishing all that wood, especially before you start furnishing". Having a kid only complicated matters. What's important is I've decided to get started. And so without further delay, I have commenced work on the dining room restoration. It begins now.
Actually it started around late april when the work on the dining room windows spilled inside. That big middle window needed sanding on the interior detail surrounding the glass. I prepped that, stained and poly'd. Not too long after that I started selectively sanding down the other two windows to address any rot and issues with the finish. What you don't know is that small task has snowballed into addressing all of the issues with the woodwork on that one wall. There was this really cheesy curtain hardware we removed after moving in that left traces of an older finish (see below) as well as a bunch of screw holes. These needed to be sanded and filled. There was also this mysterious black "crud" kind of stuck into the finish. My guess is there had already been a sanding job and they didn't bother to actually clean the wood before applying stain. I suspect all the crud is caked in wood dust. Regardless, it all had to come off. My thinking is why do things only part way that you're still not really happy with? Sure it'd be easier but I'd sleep easier at night knowing that I did it the right way (or at least close to it). Hence a full fledged restoration.
So why the dining room? Well it's the one formal room needing the least amount of work. Only maybe a third to half of the woodwork would need to be refinished. The living room is open to the foyer and to start one of those rooms would necessitate a commitment to complete the other. Not sure I want to do that yet. Ok, so here's what we got going in the dining room. The wood trim is still all there and hasn't been painted. That doesn't mean it hasn't been screwed with though. As I alluded to earlier the finish you see on the lower half of the room is not original, although it is very close. The beamed ceilings are another story. The finish is very nearly black with an obnoxious high gloss finish. Note the light fixture -- that's a story for another day.

Now don't get me wrong, I've seen several homes in the area with an ebony stain very similar (although not quite as dark). Take the
project house for example. That house had a rich dark stain and it was original. When you have an original ebony stain on your woodwork like that, you love it. You cherish it. That, however was not the case here. Don't ask me how I know, I just do. Here's a good example of the stark contrast between the upper and lower finish. The dining room looks halfway decent until you look up. Still makes me cringe.

And this is a shot of the beautiful grain underneath all that black slop. It's difficult getting a good picture since the flash totally makes the stain look like black paint. I know most would turn their noses up when talking old pine used as a stain grade wood. There may be a point to this reasoning. Yes it's not as refined as, say oak or mahogany. It speaks to me though. I actually find the grain in this wood quite beautiful. I think it will take the dining room to the next level. Hopefully I won't still be working on this a year from now..

 What is this thing? I've seen these trees all over this area and as far north as denver. What I do know is they grow ridiculously fast and are extremely invasive. They also have a very pungent stink when you rub against the trunk or leaves. Hence the name, skunk tree. This one grew to about 15ft tall in 2 years. I knocked it down though -- I got me a new tree and the perfect spot for it was where this skunk tree was standing.